Flower Pressing Techniques
Flower pressing is such a wonderful activity and it can be enjoyed by all ages. I have wonderful childhood memories of time spent pressing flowers with my Gran and Mum, and the simple pleasure of preserving a moment in time, capturing a memory, will never cease to fill me with awe and wonder.
There are various ways to press flowers - the simplest and most accessible being to place a flower inside the pages of a book, letting the weight of the book flatten the flower and the paper draw out the moisture. This isn’t a perfect method - it often results in mouldy pages within the book (which can be a bit sad should you then try to read the book!), but it is a lovely way to start and a brilliantly cost-effective way to introduce flower pressing to children.
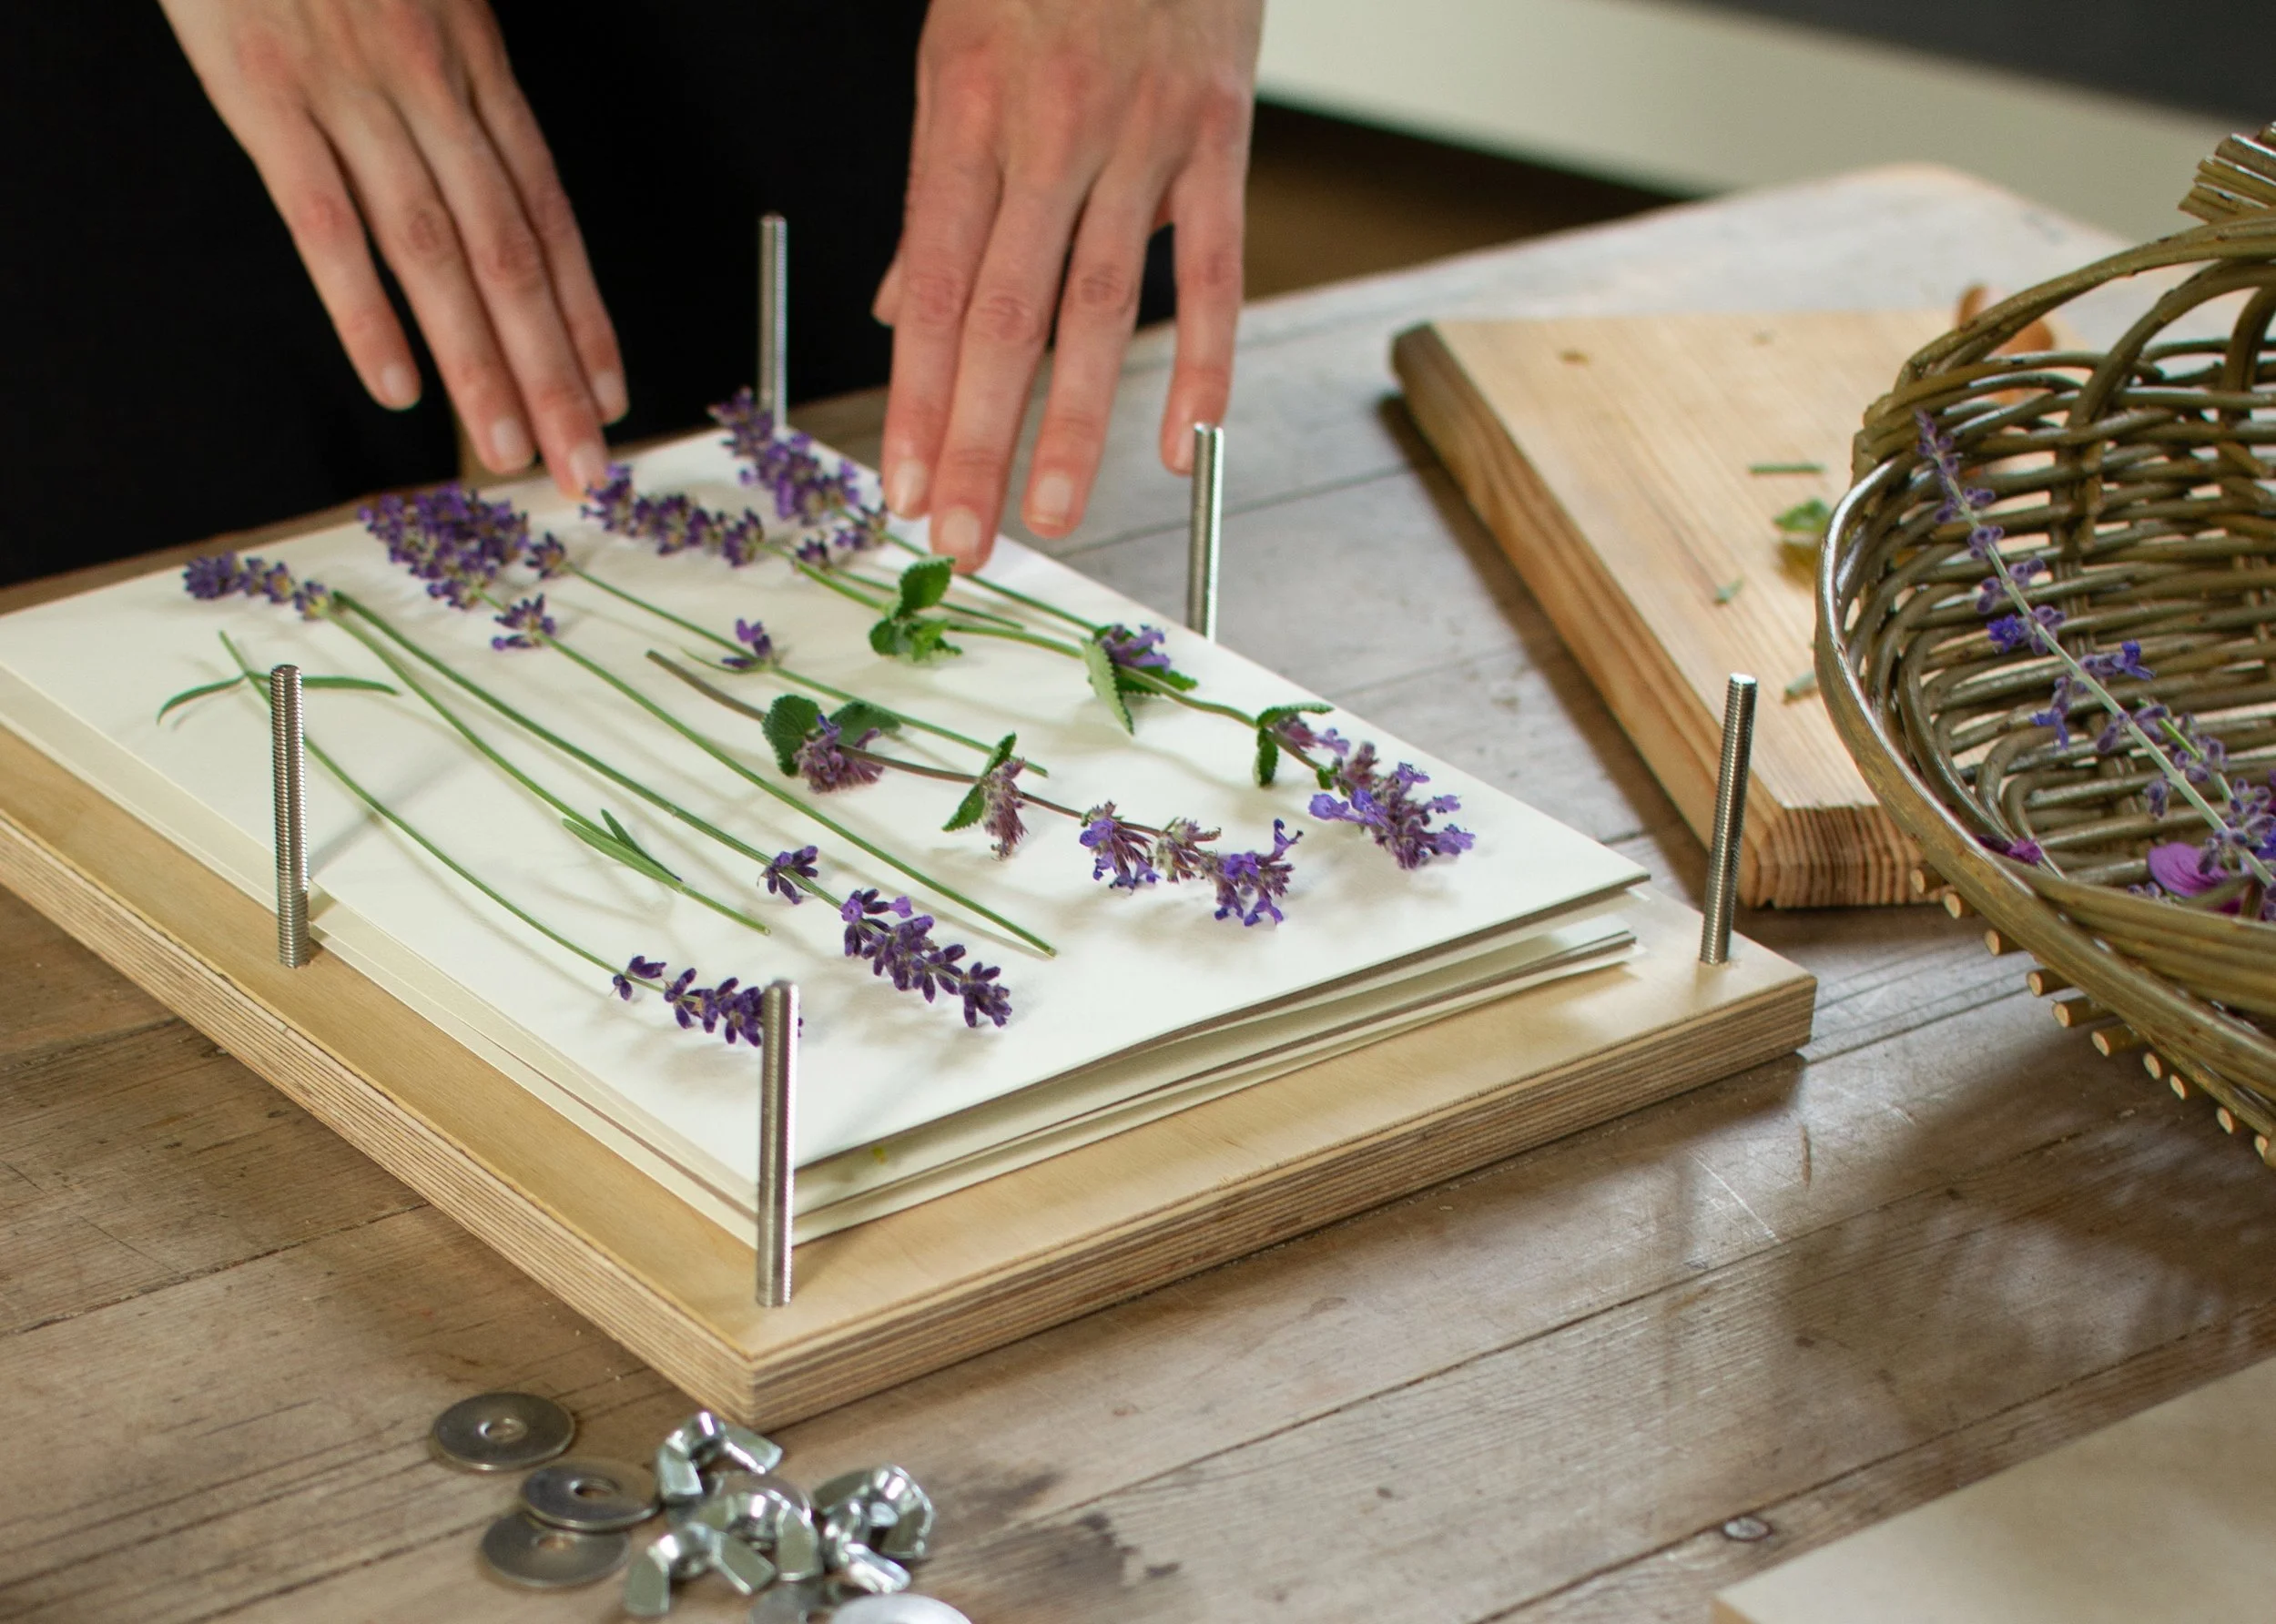
Traditional flower pressing is my preferred method, which entails using a wooden flower press with layers of blotting paper and greyboard to slowly press and preserve my flowers. There’s something really romantic and timeless about pressing flowers in the traditional way - it is a calming, mindful activity and encourages patience, as you’ll have to wait for around three weeks before your flowers have finished pressing.
There are also various modern flower pressing techniques - using a microwave to speed up the drying process, ironing the flowers (which sounds a bit brutal!) or using silica to draw out the moisture. These methods don’t appeal to me, they don’t feel as magical as the traditional technique, but if they intrigue you then it’s definitely worth giving it a go - experiment and decide which approach works best for you.